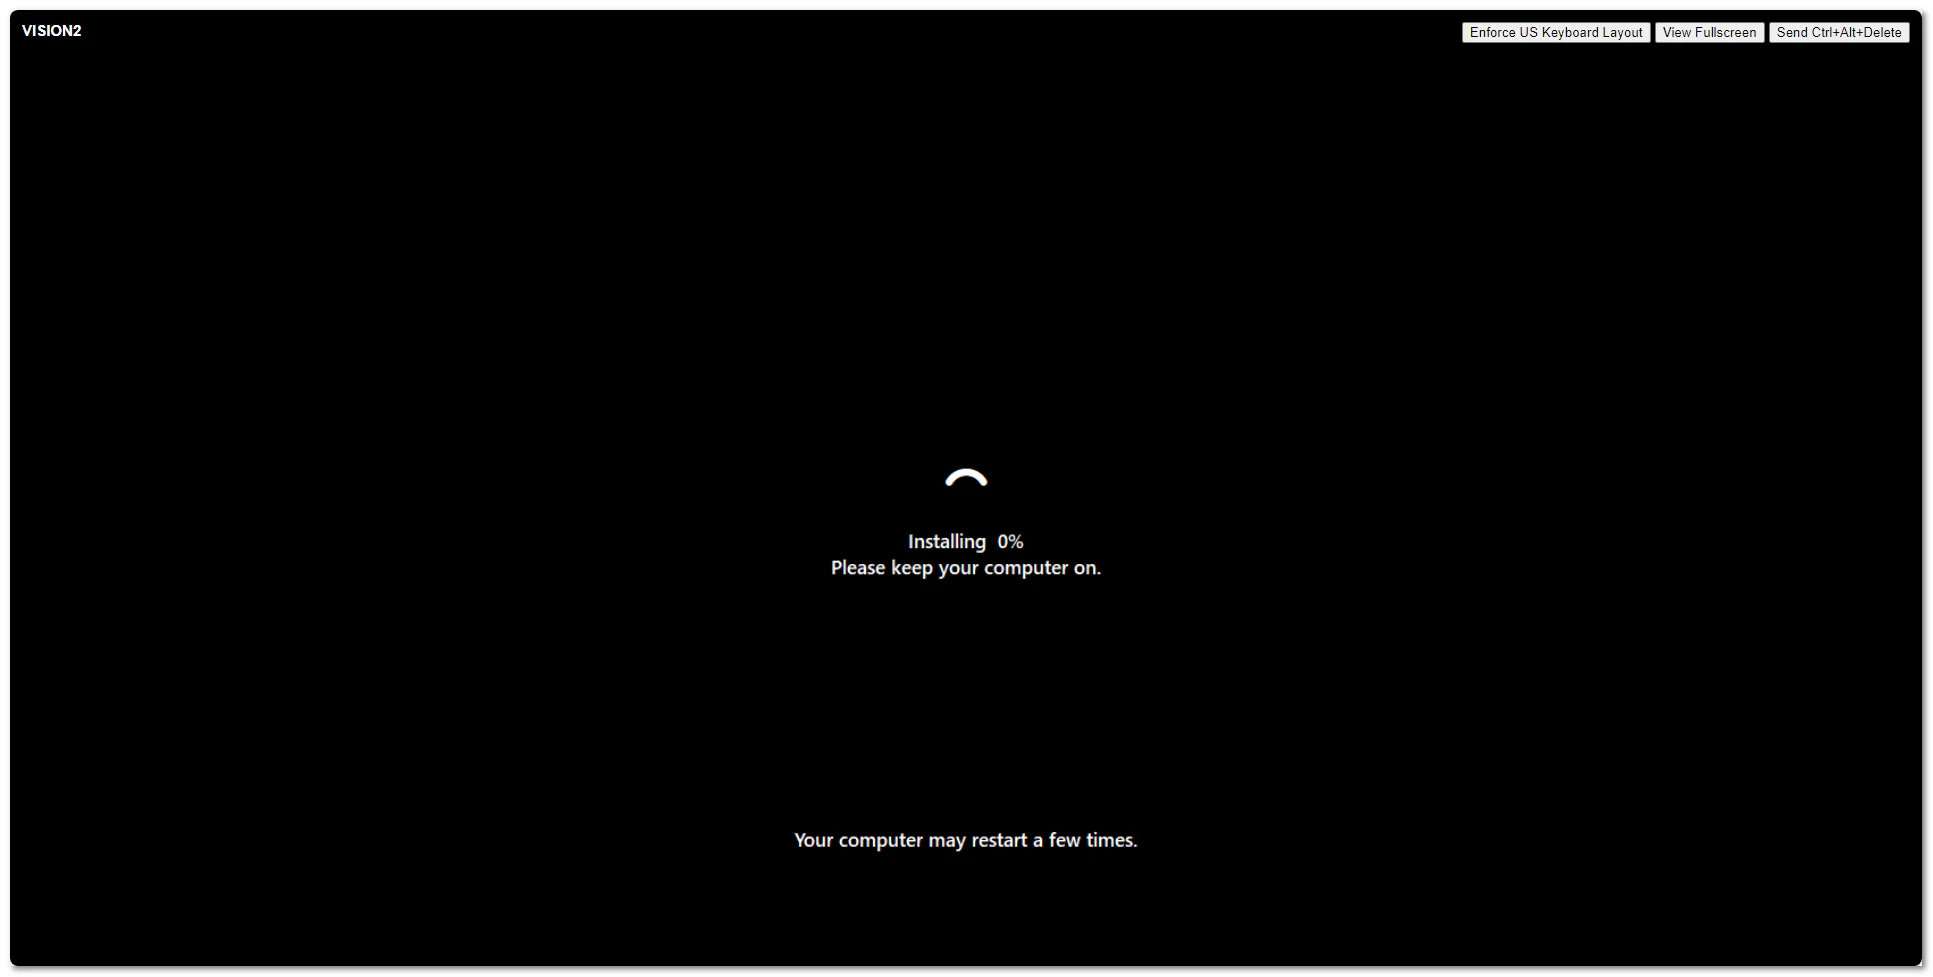
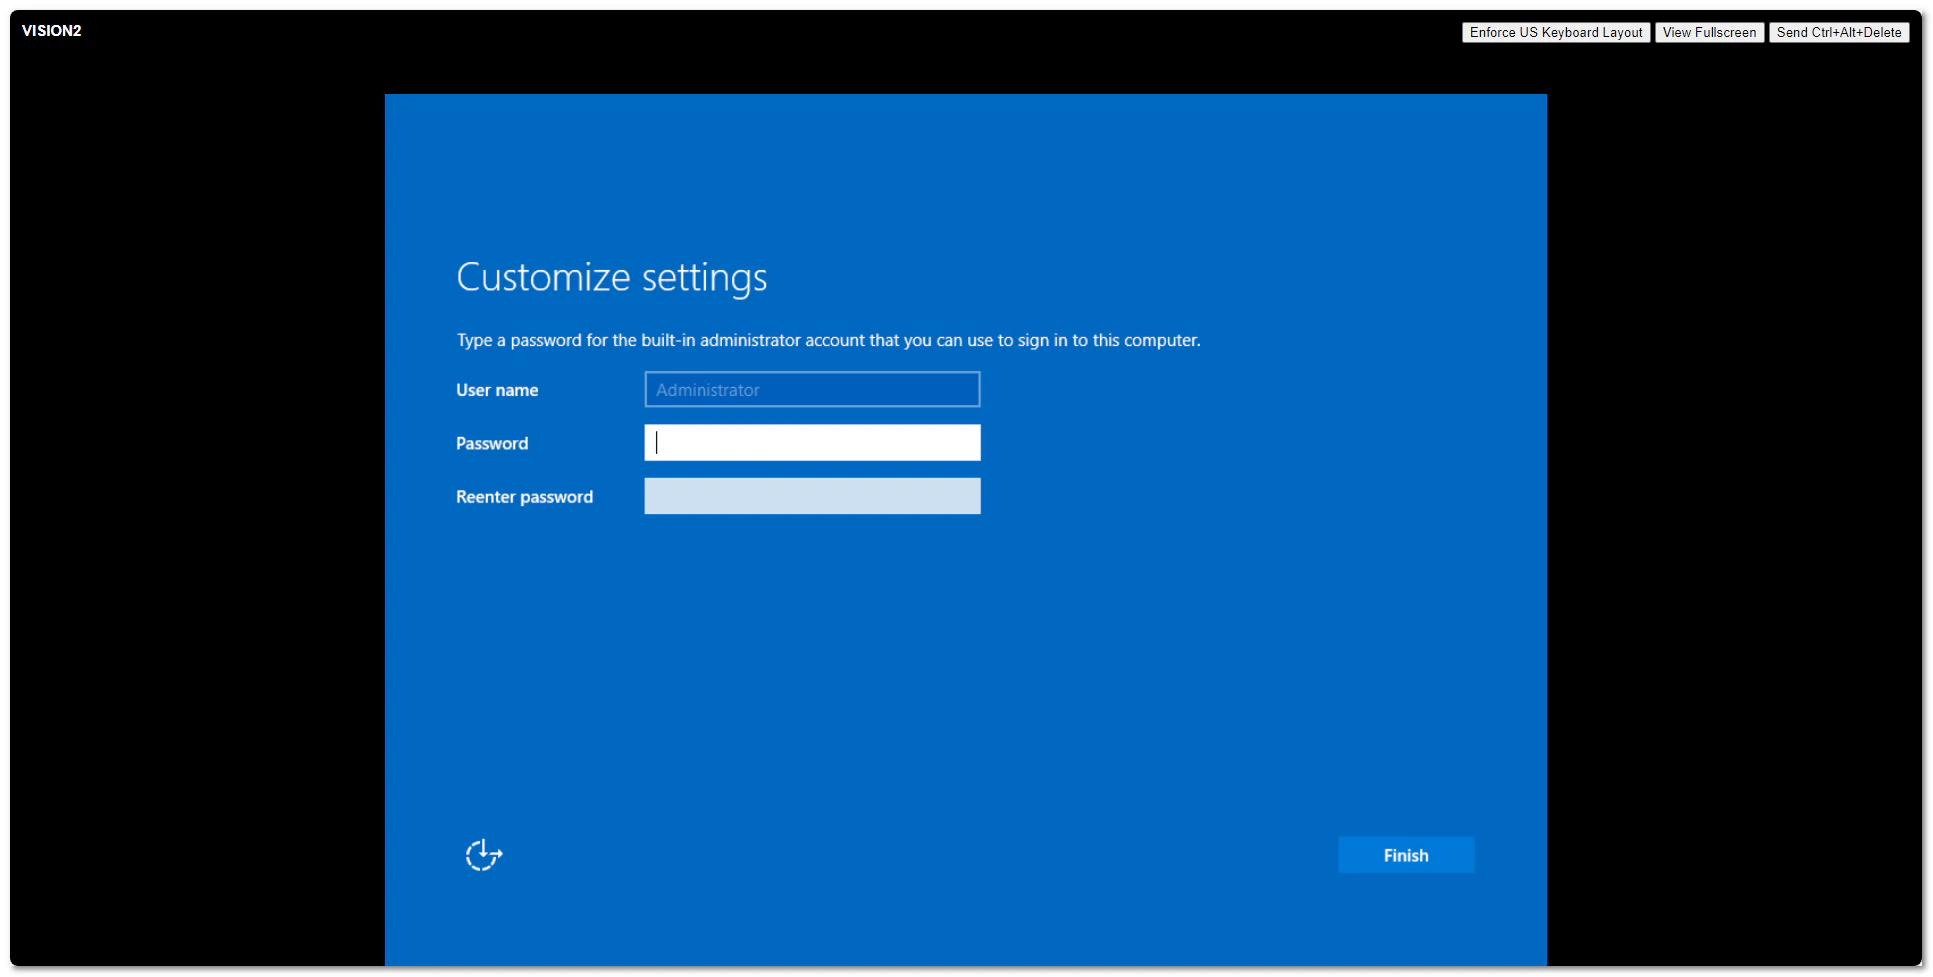
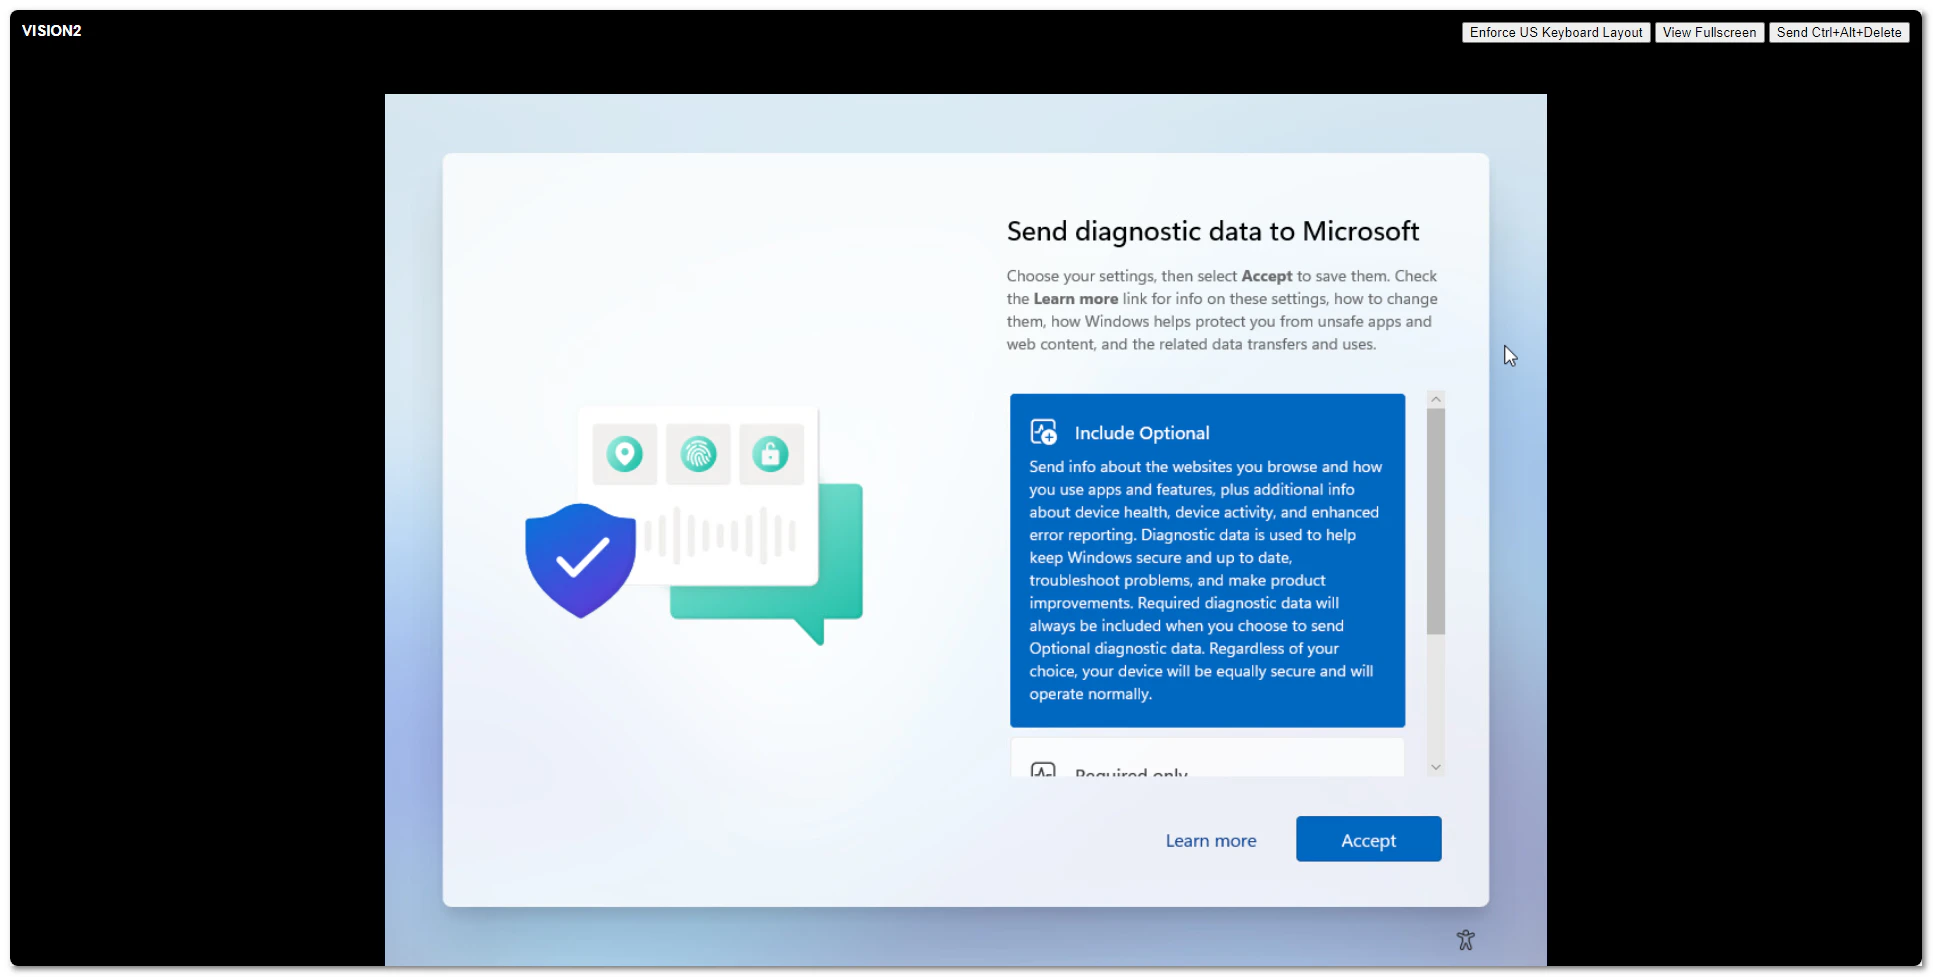
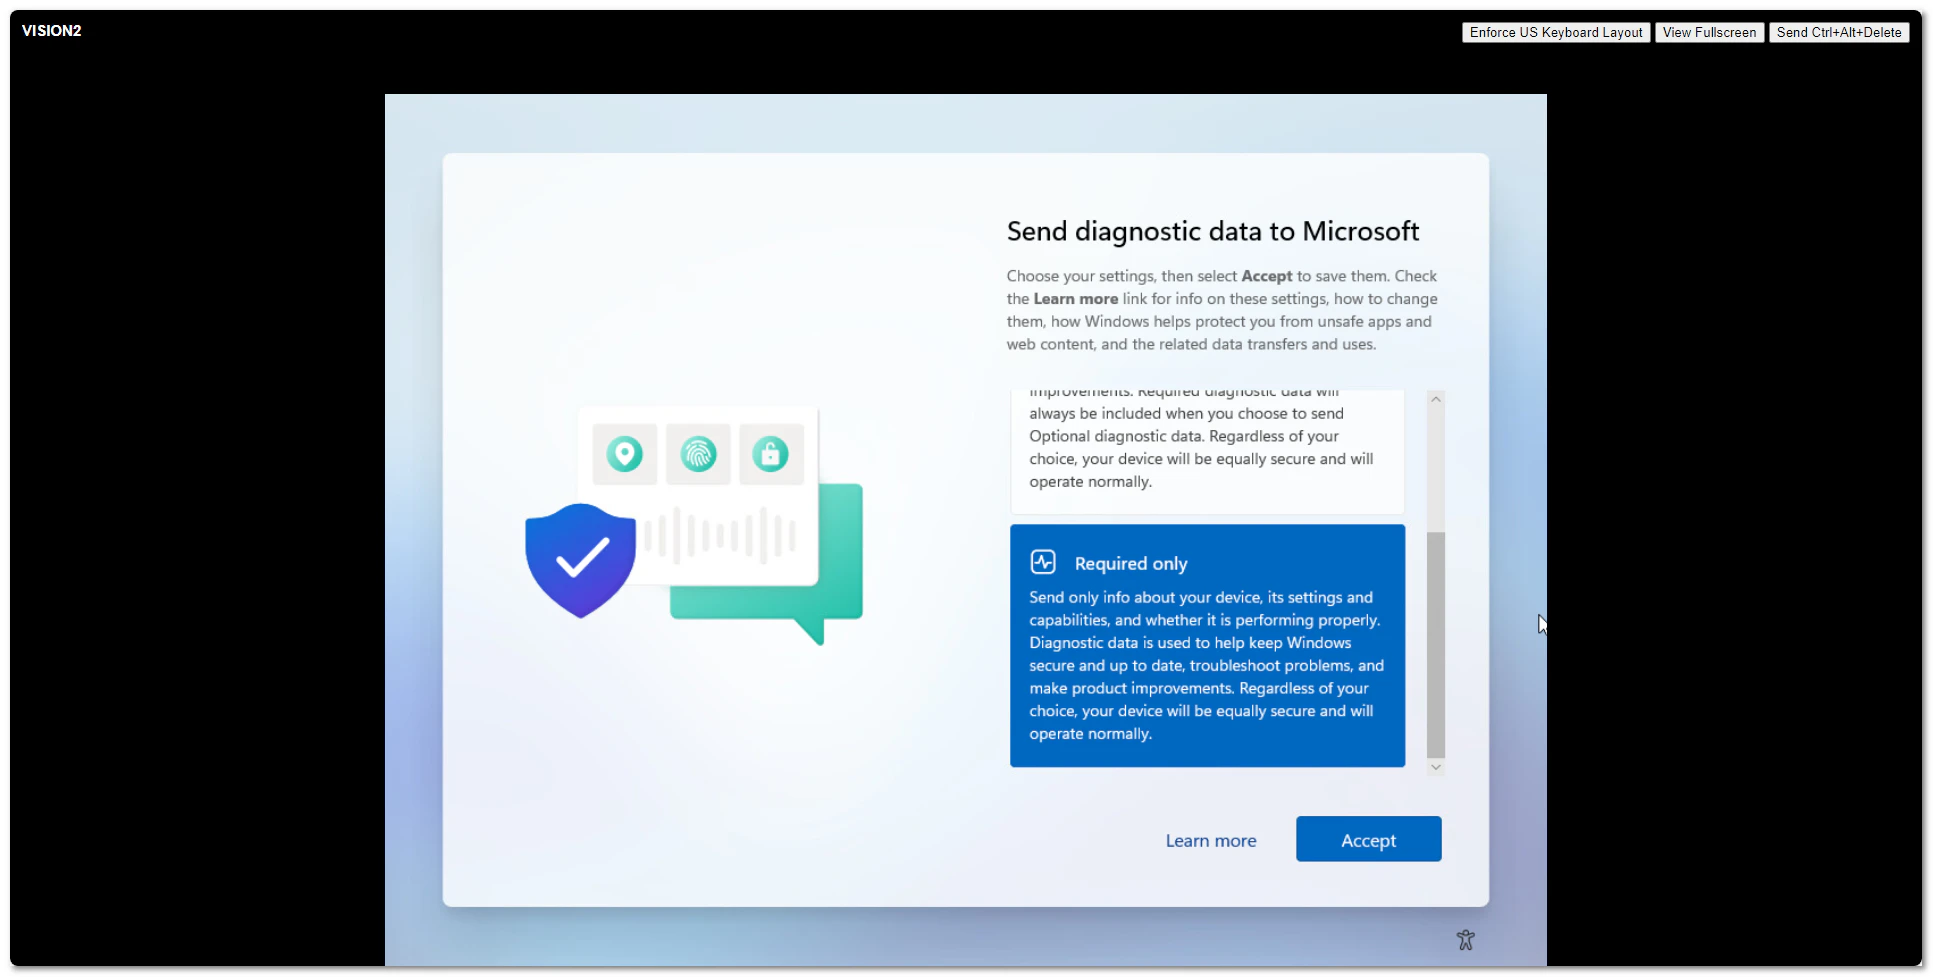
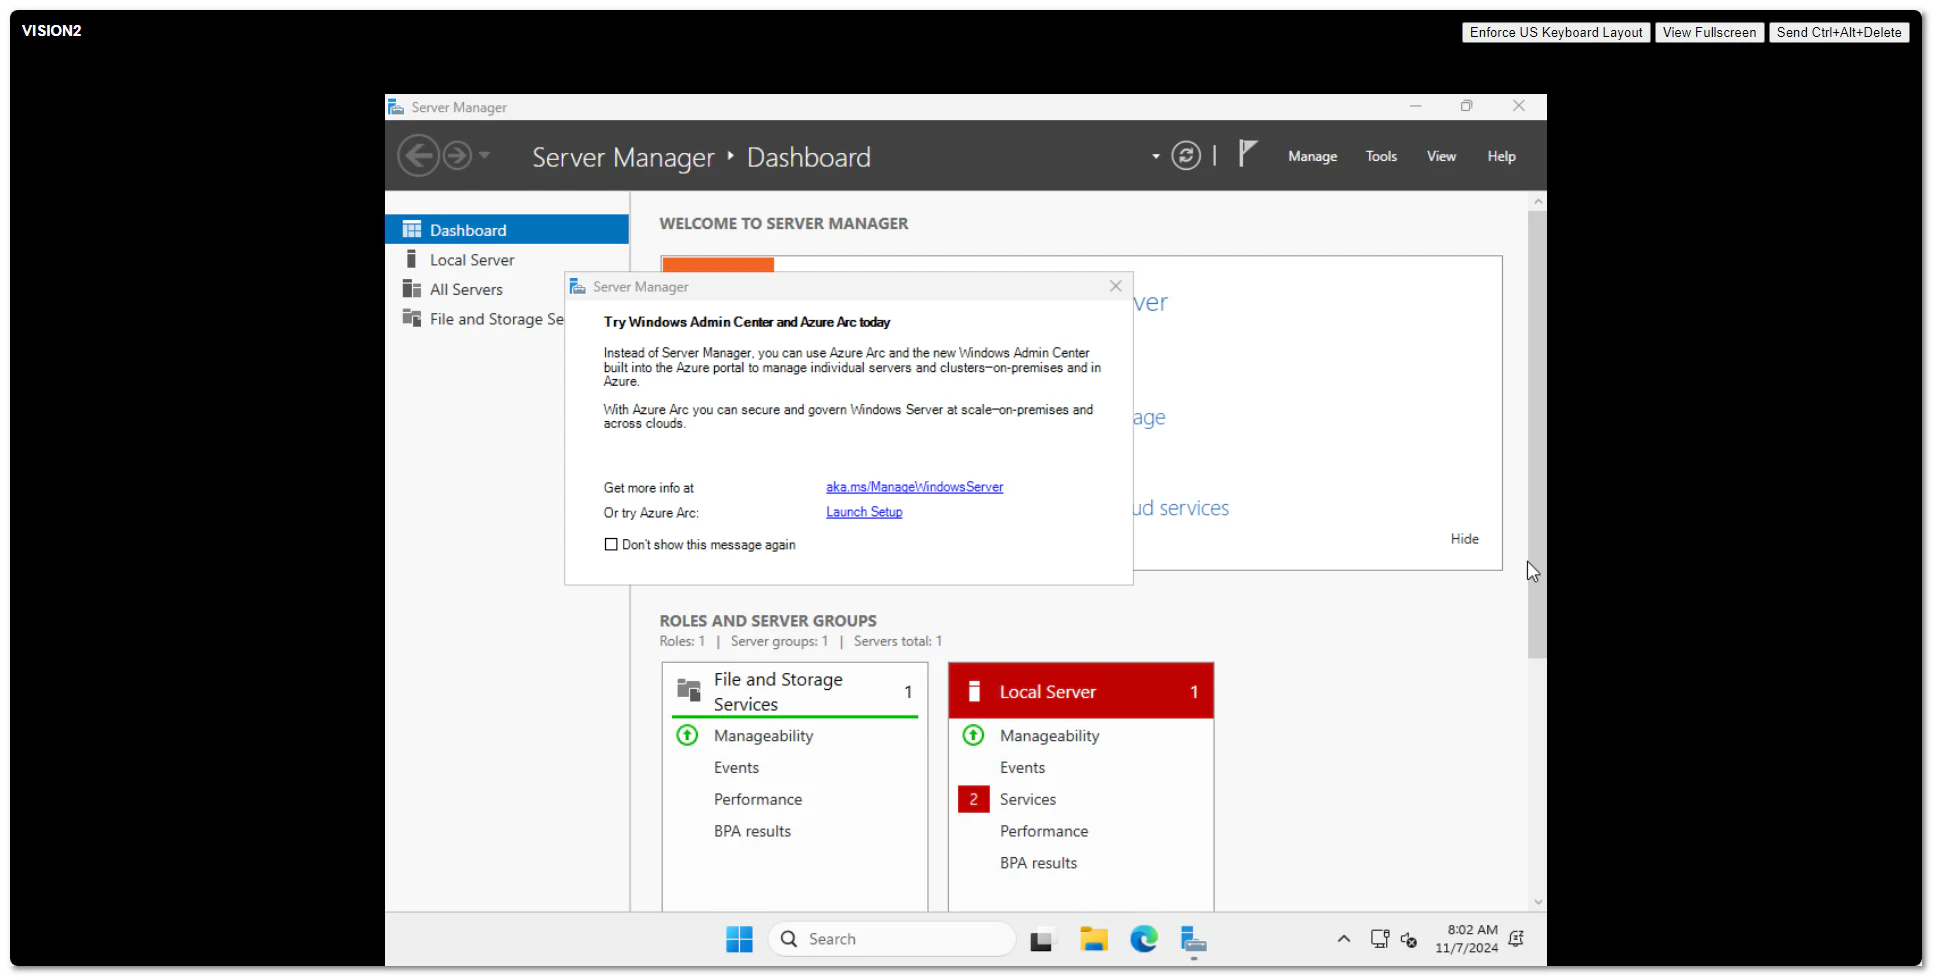
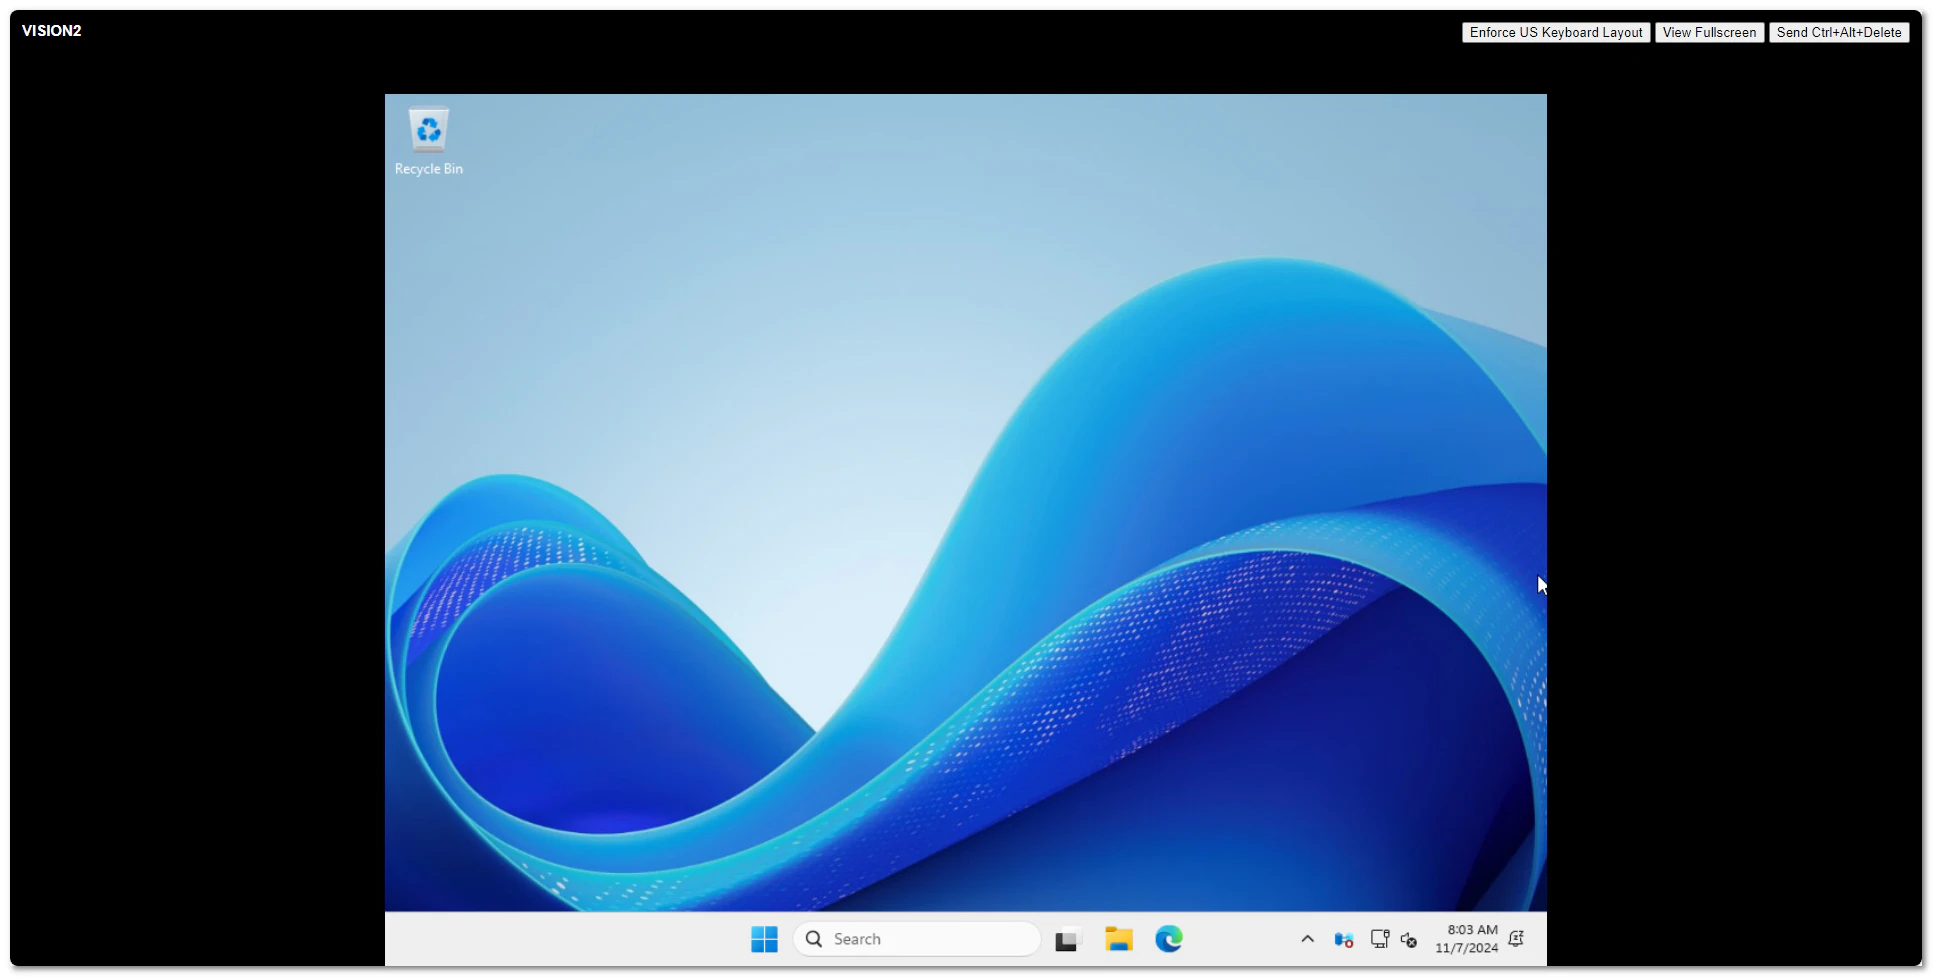
Windows Server 2025 went Generally Available (GA) a few days ago. I grabbed a copy from the Microsoft Evaluation Center and installed on my ESXi 8 server. Here are some screenshots of the process and new installation GUI.


Micro$oft Windows
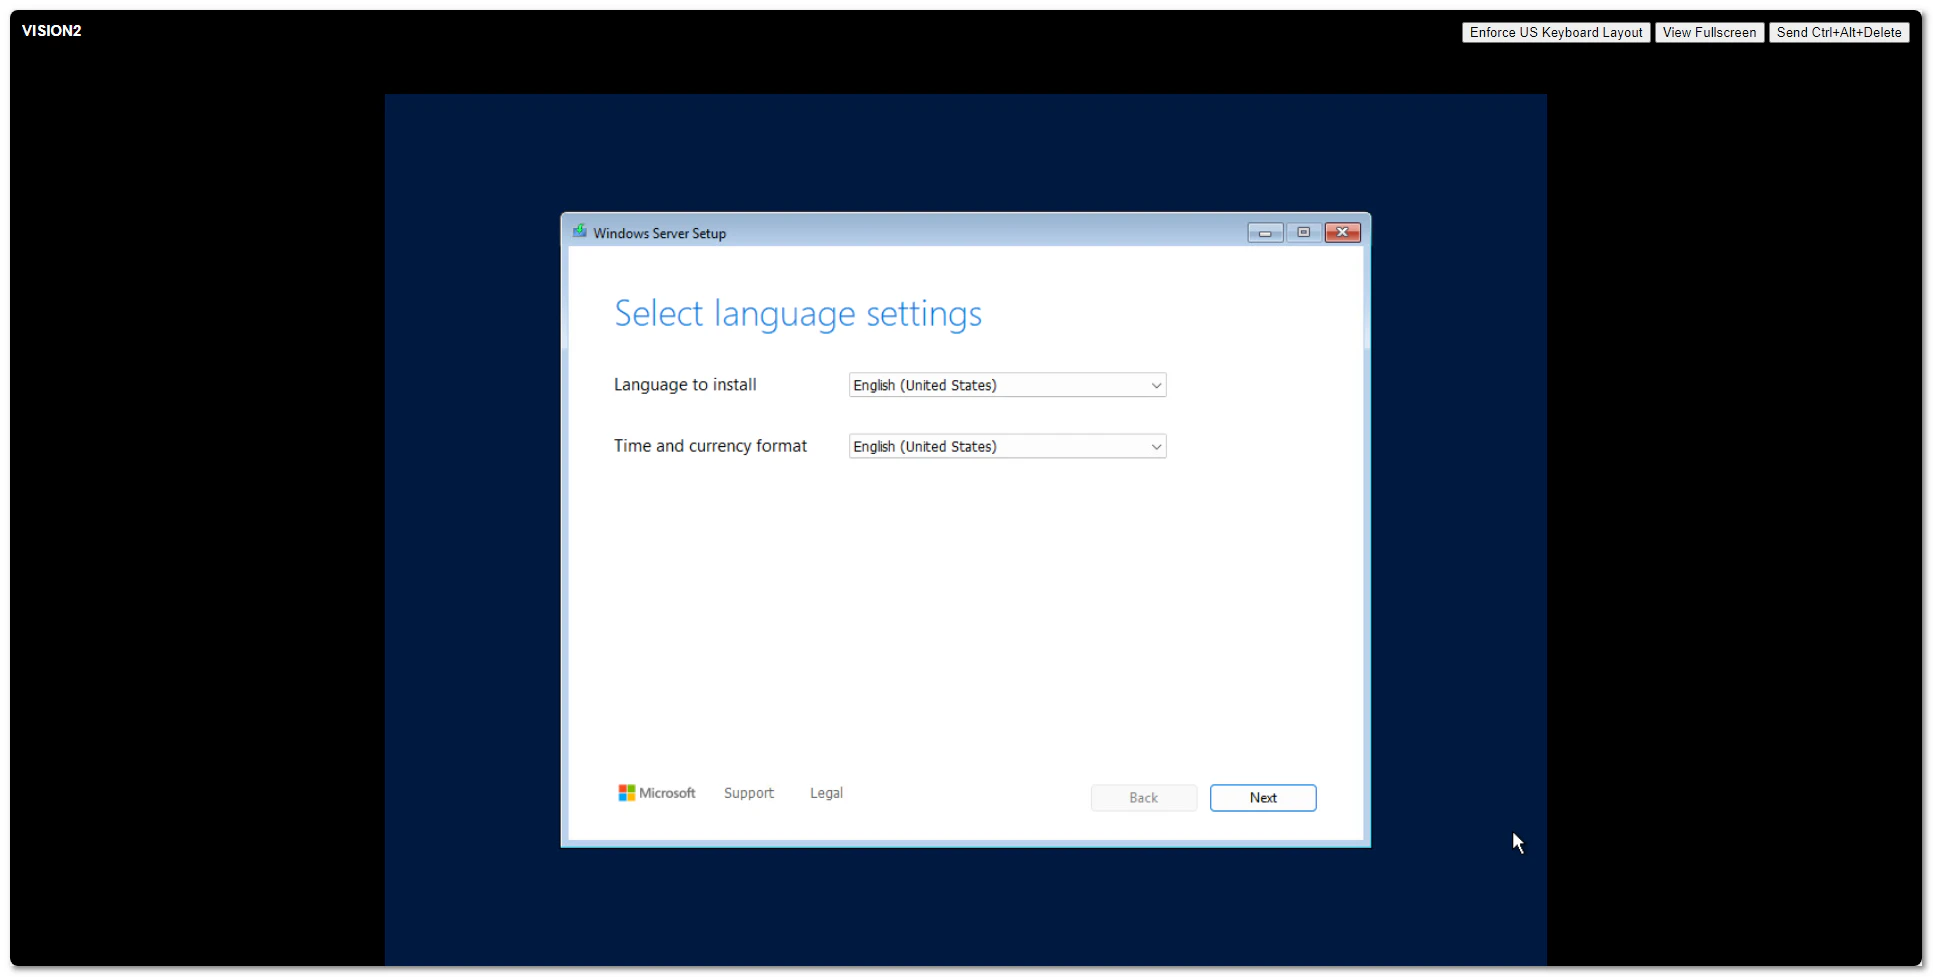
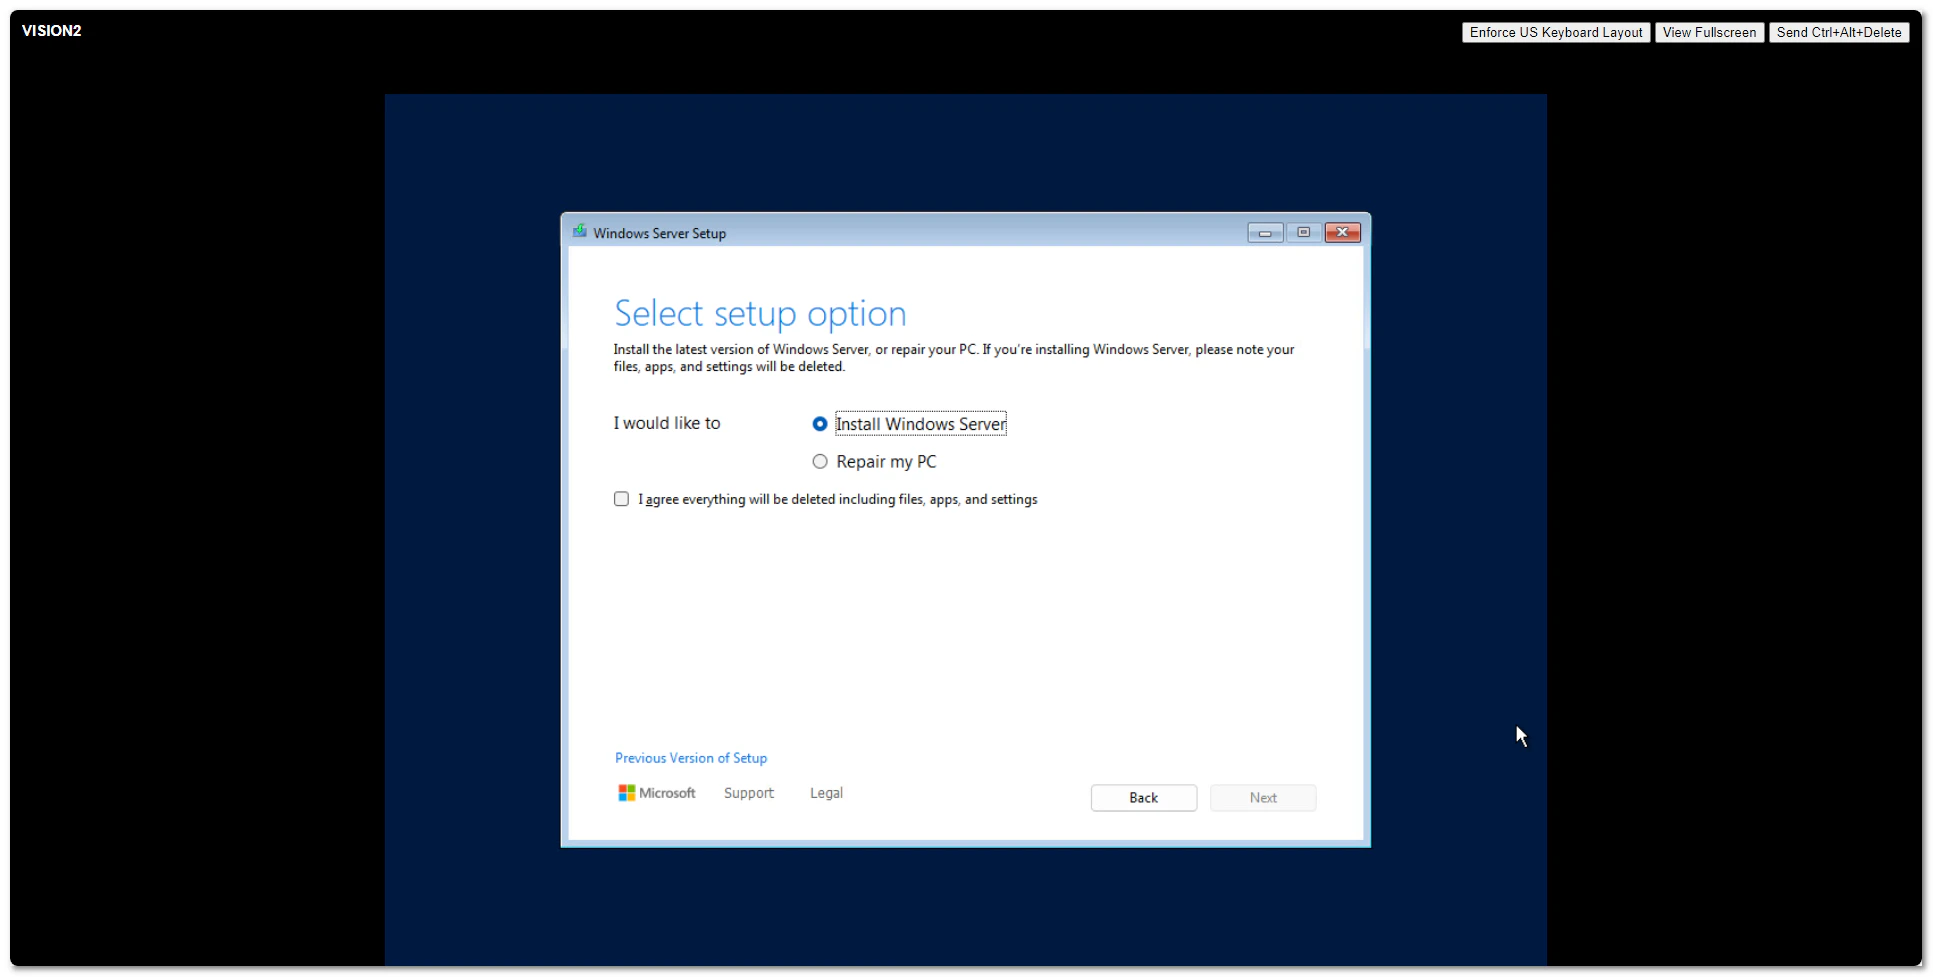
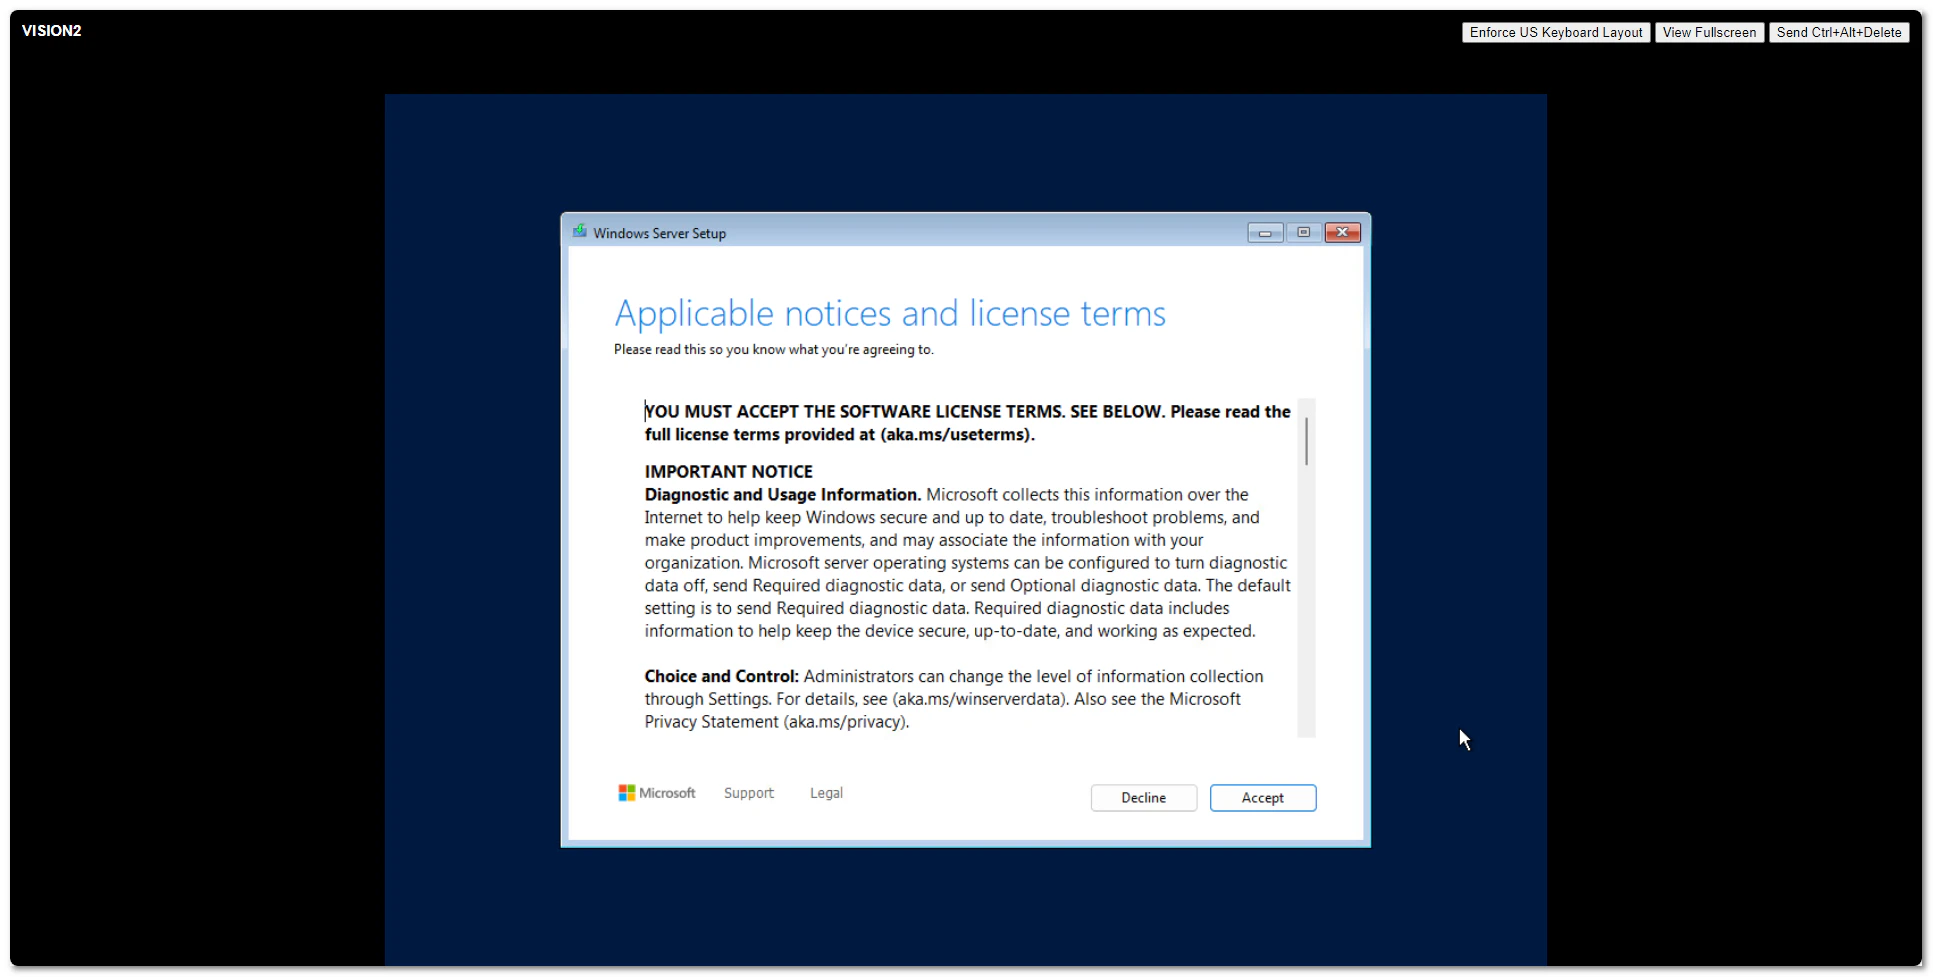
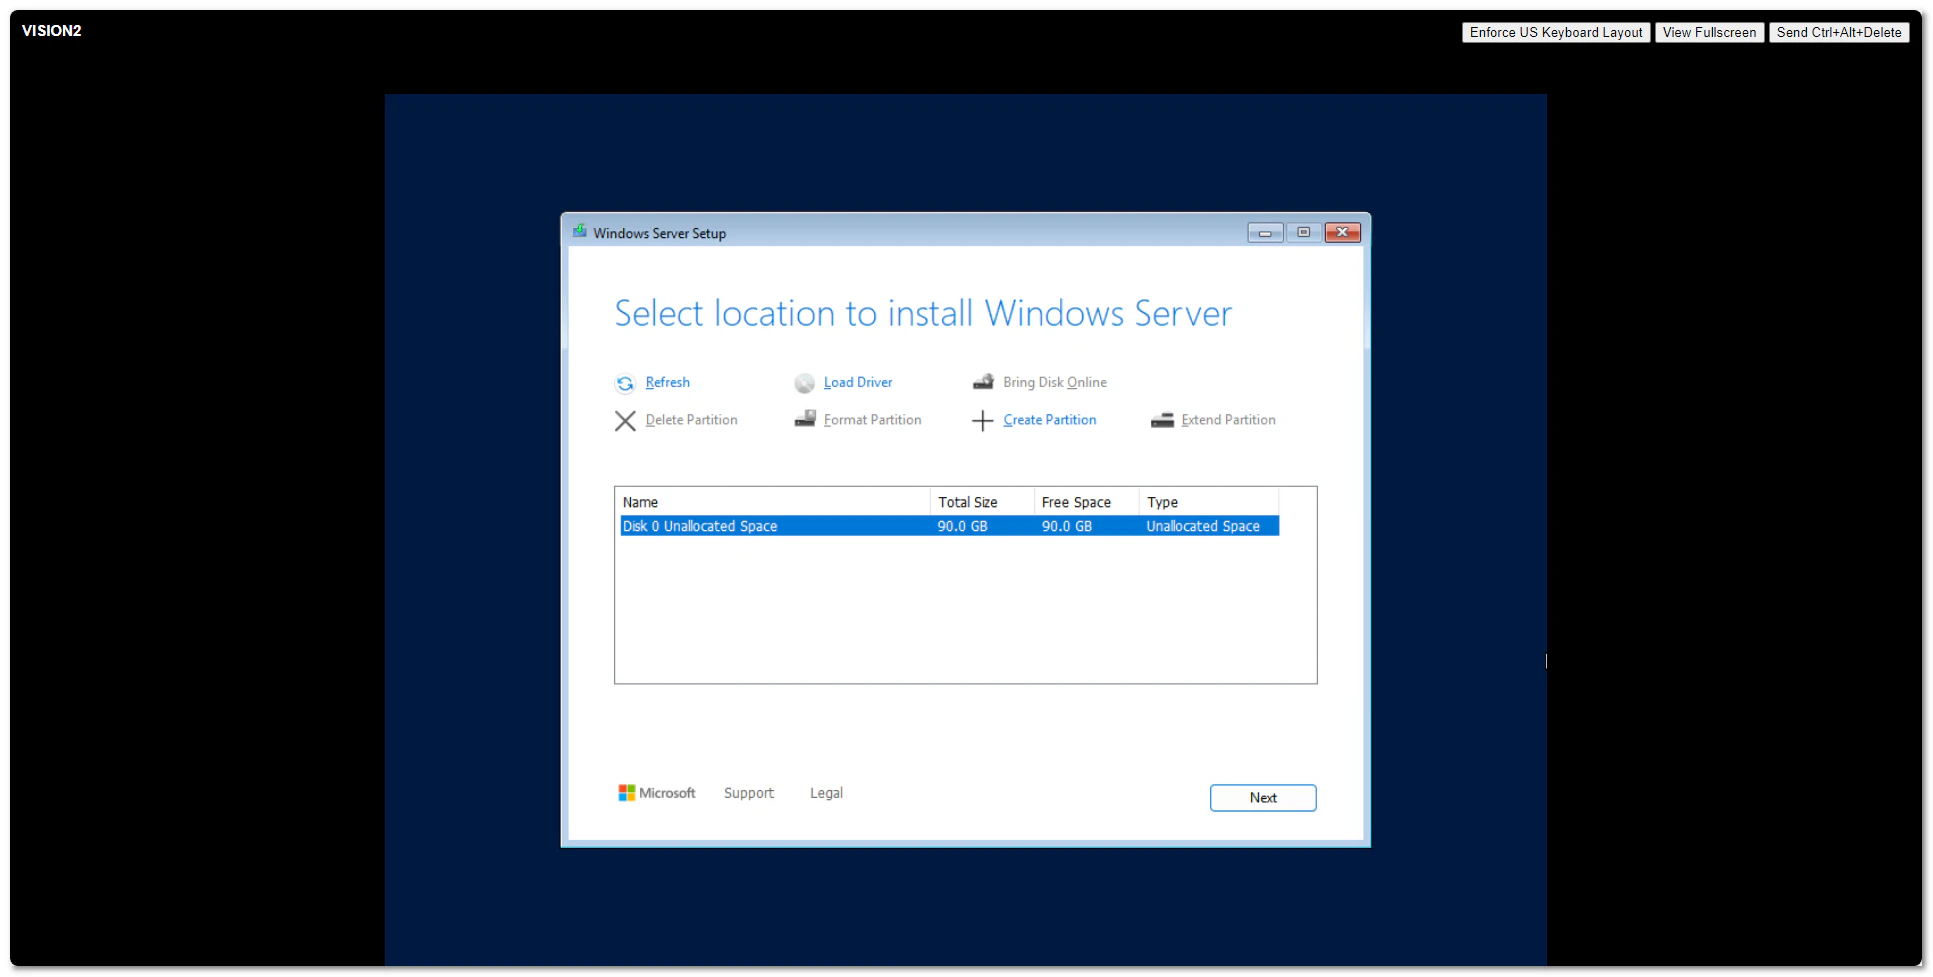
Windows Server 2025 went Generally Available (GA) a few days ago. I grabbed a copy from the Microsoft Evaluation Center and installed on my ESXi 8 server. Here are some screenshots of the process and new installation GUI.
Here’s a quick snippet to get the IP, MAC address and Vendor using PowerShell in Windows with the native arp -a command and curl. It is based on accessing my MAC lookup tool.
$arpOutput = arp -a

foreach ($line in $arpOutput) {
    if ($line -match '(\d{1,3}\.\d{1,3}\.\d{1,3}\.\d{1,3})\s+([a-fA-F0-9:-]{17})') {
        $ip = $matches[1]
        $mac = $matches[2]
	$vendor = curl https://techish.net/mac/$mac
        Write-Output "IP: $ip, MAC: $mac, Vendor: $vendor"
    }
}
Note: You could do a quick ping sweep of the network you’re on so that the arp cache is fresh:
for /l %x in (1,1,254) do @ping -n 1 -w 25 192.168.0.%x | find /I "bytes="
Note: I have setup a script you can use with PowerShell to do a scan and output the data in comma delimited format.
irm https://techish.net/mac/scan | iexYou can save to a CSV using something like this
irm https://techish.net/mac/scan | iex | out-file scan.csv -encoding UTF8You could also output to clipboard
irm https://techish.net/mac/scan | iex | clipI hacked together a small tool in .NET that helps me quickly analyze the Component Based Servicing (CBS) log in c:\windows\logs\cbs\cbs.log for missing CSI Payloads.
It will parse the log file selected and extract the packages. A few options are available to then search for the missing payloads by specifying a source directory (like a known good copy of \windows\winsxs folder.
This GUI is a culmination of a few PowerShell scripts I hacked together to basically do the same thing. The only thing I do not have in the GUI is the ability to convert the UBR to a KB, so for example if a missing package for Windows Server 2019 is amd64_microsoft-windows-f..rcluster-clientcore_31bf3856ad364e35_10.0.17763.3469_none_decef48d0a3310cc, the UBR is 3469 and that is found in KB5017379 which can be determined by visiting Microsoft’s Windows Server release information.
I did write a PowerShell script that retrieves the Windows Server release information, if anyone is interested. It takes an argument (win10, win11, server2019, server2022) and defaults to server2019 if no argument provided.
The PowerShell version of this is available in my GitHub repo.
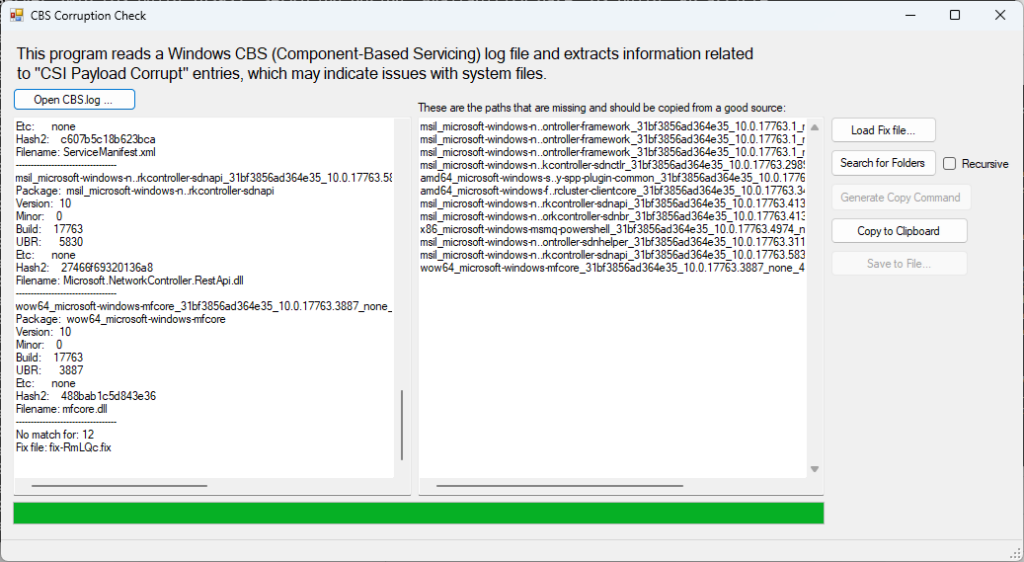
This is the main interface. After selecting the CBS log file, it will parse it and display any lines with CSI Payload Missing. It writes a .fix file and displays the contents on the right pane. These are the missing folders.
From there, a few options I needed was to copy to clipboard, and also generate copy command. The generate copy command just utilizes robocopy and hardcodes a fake destination that will need changed. Alternatively, you can use the Search for Folders button and choose a source folder to search. By default it will start in c:\windows\winsxs. If you want to use recursion, be sure to check the recursive checkbox.
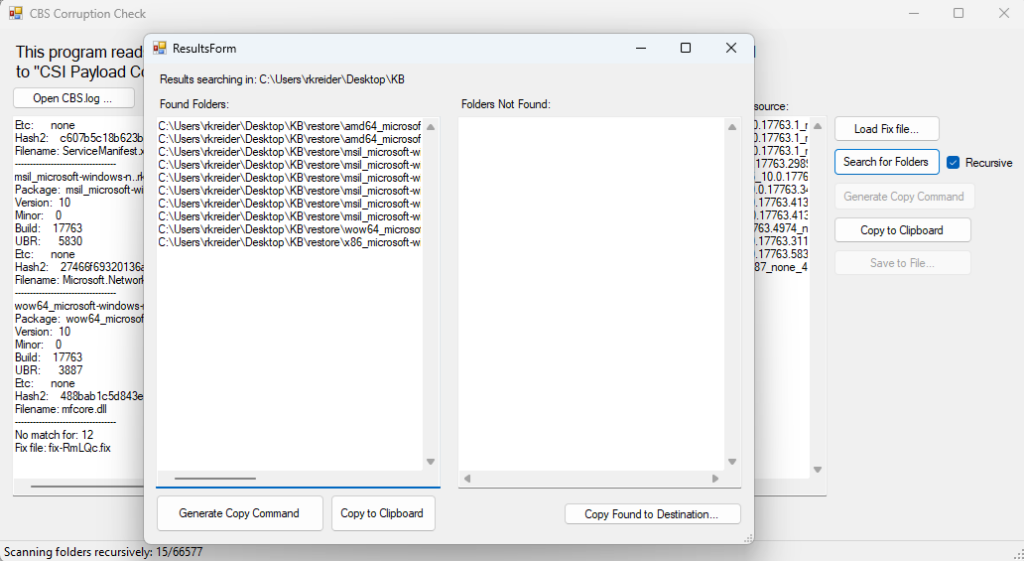
This is the results of the Search for Folders button. If it finds files, the left pane lists the location where the folders are. You can then use the Copy Found to destination button which lets you choose a destination folder and will then copy the found folders entirely to the destination. Alternatively a couple options exist to Copy to Clipboard and Generate Copy Command (which generates a robocopy command like previous).
This PowerShell one-liner is a convenient way to monitor log files in real-time and quickly spot error messages. The script continuously reads the log and highlights lines that contain the word “error” with a red background, making them easy to identify. It’s a handy tool for troubleshooting or monitoring system activities, especially when dealing with logs generated by tools like DISM.
gc .\dism.log -wait |foreach-object { if ($_ -match "error"){write-host -foregroundcolor white -BackgroundColor red $_} else {write-host $_}}gc .\dism.log -wait
gc is short for Get-Content, a PowerShell cmdlet that reads the content of a file..\dism.log specifies the file to read, which is dism.log. This log file is typically generated by the Deployment Imaging Service and Management Tool (DISM), often used for Windows image management.-wait parameter makes Get-Content continuously monitor the log file in real-time, displaying new content as it is written to the file. This is especially useful for live monitoring of logs.| foreach-object
| symbol (pipeline) sends the output of the Get-Content cmdlet to the next part of the command.foreach-object is a loop that processes each line of the log file one by one as it is being read.if ($_ -match "error")
$_ represents the current line of the log file being processed in the loop.-match "error" checks if the current line contains the word “error” (case-insensitive by default in PowerShell). This is the key part that identifies lines with errors in the log.write-host -foregroundcolor white -BackgroundColor red $_
$_ again represents the line being processed.else { write-host $_ }
Suppose you are monitoring the dism.log file and a line like this is written to the log:
2024-10-11 14:55:12, Error DISM DISM.EXE: Failed to load the providerIn the console, this line will be printed in white text with a red background, making it easy to spot among other log entries.
Archived from: Wayback Machine
You can use the Settings app to switch your Microsoft account to a local account.
Important: Microsoft recommends using a Microsoft account, not a local account, when signing in to Windows. Using a Microsoft account in Windows allows for seamless integration of Microsoft services, enhanced security, and sync across devices, unlike a local account.
Warning: when using a local account, it’s a good idea to create a password reset disk. If you don’t do this and then forget your password, you won’t be able to recover it.