In order to work around the issue processor power management has to be disabled in system UEFI and vSphere Client.
To change power policies using server UEFI settings:
- Turn on the server.
Note: If necessary, connect a keyboard, monitor, and mouse to the console breakout cable and connect the console breakout cable to the compute node. - When the prompt ‘Press <F1> Setup’ is displayed, press F1 and enter UEFI setup. Follow the instructions on the screen.
- Select System Settings –> Operating Modes and set it to ‘Custom Mode’ as shown in ‘Custom Mode’ figure, then set UEFI settings as follows:
Choose Operating Mode <Custom>
Memory Speed <Max Performance>
Memory Power Management <Disabled>
Proc Performance States <Disabled>
C1 Enhanced Mode <Disabled>
QPI Link Frequency <Max Performance>
QPI Link Disable <Enable All Links>
Turbo Mode <Enable>
CPU C-States <Disable>
Power/Performance Bias <Platform Controlled>
Platform Controlled Type <Maximum Performance>
Uncore Frequency Scaling <Disable>


- Press Escape key 3 times, and Save Settings.
- Exit Setup and restart the server so that UEFI changes take effect.
Next, change power policies using the vSphere Client:
- Select the host from the inventory and click the Manage tab and then the Settings tab as shown in ‘Power Management view from the vSphere Web Client’ figure.
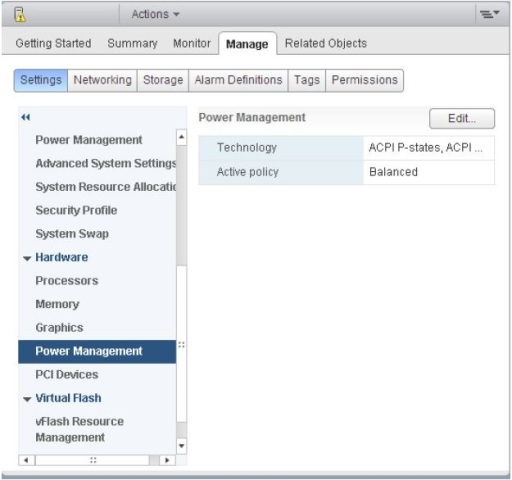
- In the left pane under Hardware, select Power Management.
- Click Edit on the right side of the screen.
- The Edit Power Policy Settings dialog box appears as shown in ‘Power policy settings’ figure.

- Choose ‘High performance’ and confirm selection by pressing ‘OK’ radio button.