Finally getting around to installing Windows Server 2016 (Standard, Desktop Experience) to use for application testing and upgrade plans this year. I haven’t tested this release since Technical Preview 5 which had introduced the Nano edition.
I plan to create a sysprep image of the virtual machine so I can quickly deploy the system in the future.
What is sysprep?
The System Preparation (Sysprep) tool prepares an installation of Windows for duplication, auditing, and customer delivery. Duplication, also called imaging, enables you to capture a customized Windows image that you can reuse throughout an organization. Audit mode enables you to add additional device drivers or applications to a Windows installation. After you install the additional drivers and applications, you can test the integrity of the Windows installation. Sysprep also enables you to prepare an image to be delivered to a customer. When the customer boots Windows, Windows Welcome starts.
Since Windows 8 and Server 2012, there is a new command line switch for sysprep, /mode:vm.
Note: This switch is only supported for virtual machines. You can’t mix and match Hyper-V VMs and VMWare VMs. Also, you cannot deploy this image to physical machine.
Install Windows Server 2016
First thing’s first, I’m going to install Windows Server 2016 Standard Desktop Experience.
Minimum System Requirements for Windows Server 2016 Standard (Desktop Experience):
- 1.4 GHz 64-bit EMT64 or AMD64 processor
- Support for security features like NX Bit and DEP (Data Execution Prevention)
- The processor should support CMPXCHG16b, LAHF/SAHF, and PrefetchWNeeds
- Needs to Support EPT or NPT (Second Level Address Translation)
- 32GB disk space for Core, 4GB additional for GUI (Desktop Experience)
- Needs to be a PCI Express Compliant Disk Controller.
- ATA/PATA/IDE/EIDE are not supported for either boot, page, or data.
For my base system, I’m using a 50GB disk, 4GB RAM, and 1 socket, 2 core 2GHz vCPU.
Now that the base operating system is installed, I will do a few maintenance tasks that I like to do to my systems.
- Windows Updates
- Change Performance to High Performance
Once that is done, I can sysprep.
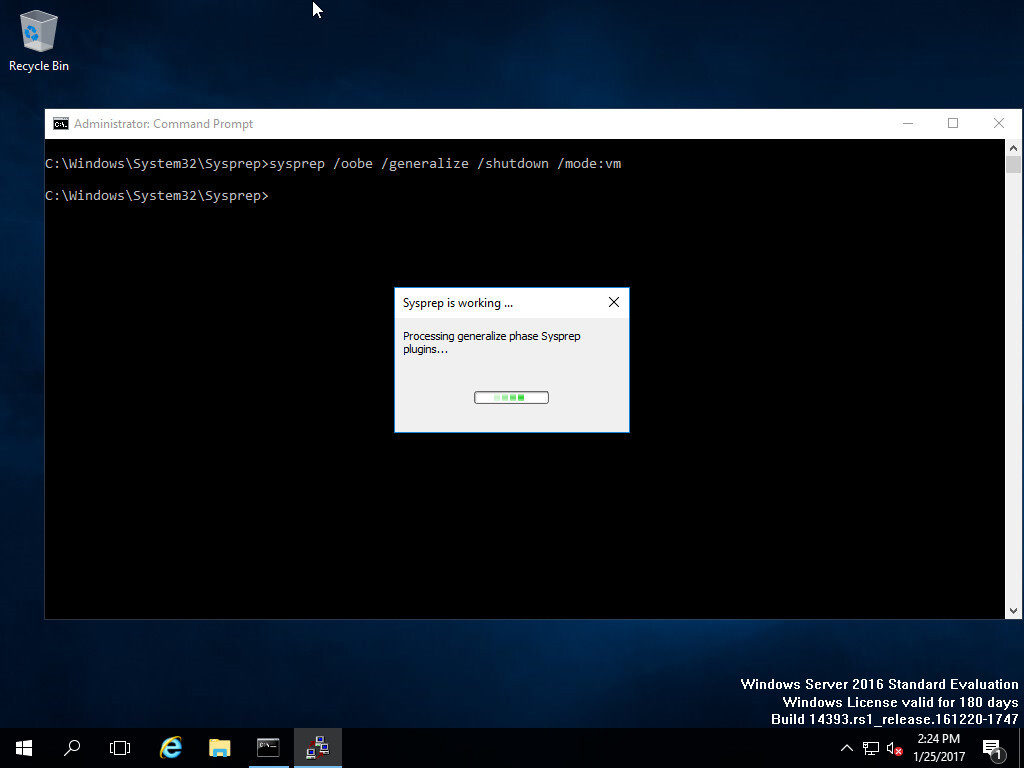
Sysprep the Windows Server VM
As noted above, the new flag (since Windows 8/Server 2012) /mode:vm allows for faster deployment, but you can’t switch between hypervisors after it is made and it cannot be deployed to physical hardware. Once the sysprep is completed, the resulting VHD can be copied and attached to a new VM quickly.
c:\windows\system32\sysprep\sysprep.exe /oobe /generalize /shutdown /mode:vm
It will shutdown after sysprep completes, and at this point I can now simply clone the virtual machine to a new virtual machine.
After sysprep completes, I Clone the virtual machine in VMWare. Once cloned, I power the virtual machine on and fill in the information at first startup as shown in the screenshots below.